Katie Wu Photography
Drop a note
  • Welcome!
  • Gallery
  • Sessions
  • About Me
  • Blog

New season, new props!

9/22/2013

0 Comments

 
I love the change in seasons, and right now you can smell fall in the air. The leaves are beginning to change colors; the air becomes crisper and cooler; the day begins to get darker earlier.

With the new season comes new props to play with. Here are new props that I got and can't wait to start using!

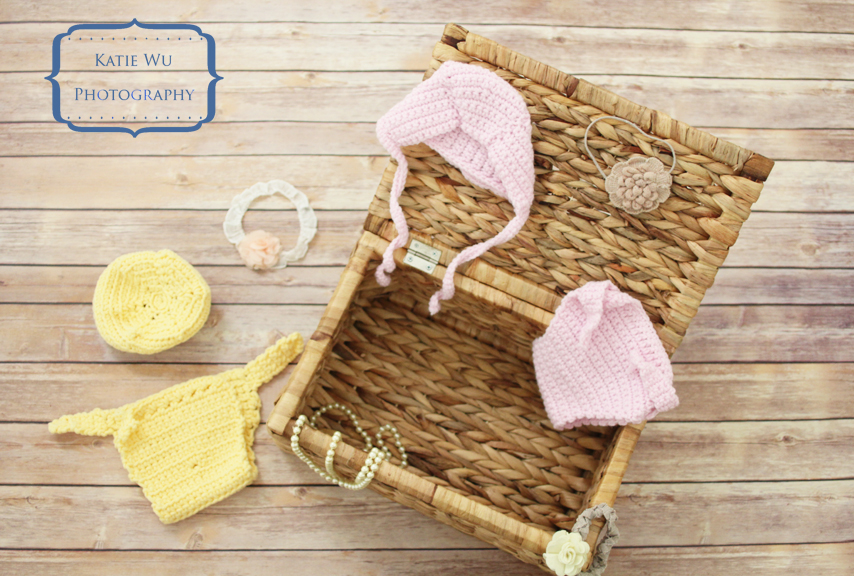
The crochet hat and bottom sets were made with love by baby Hunter's grandmother, Ninetta. Pictures of baby Hunter can be seen in my gallery where he is wrapped in the USA flag scarf. I also love my new wood floor backdrop and baskets!
Picture
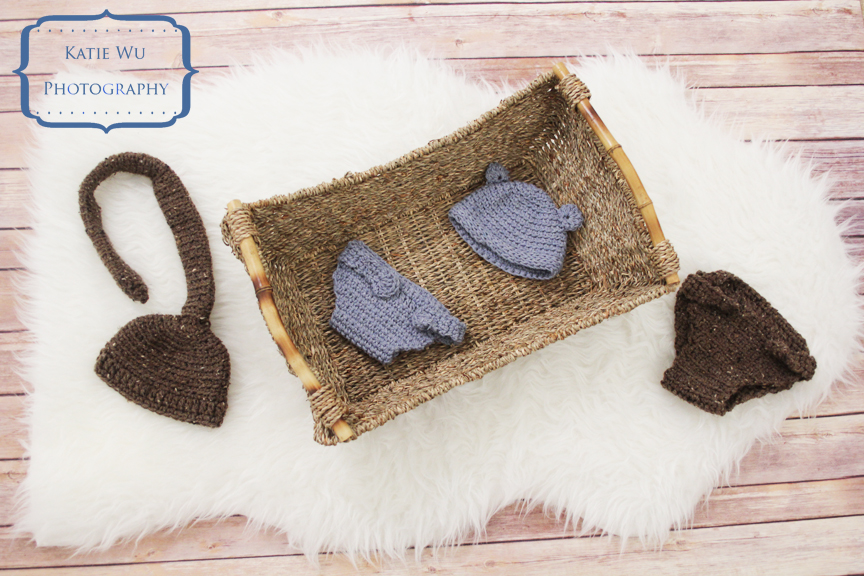
Hunter's grandmother also made crochet sets in more masculine colors. The ultra soft sheepskin rug and basket are also new props!
Picture
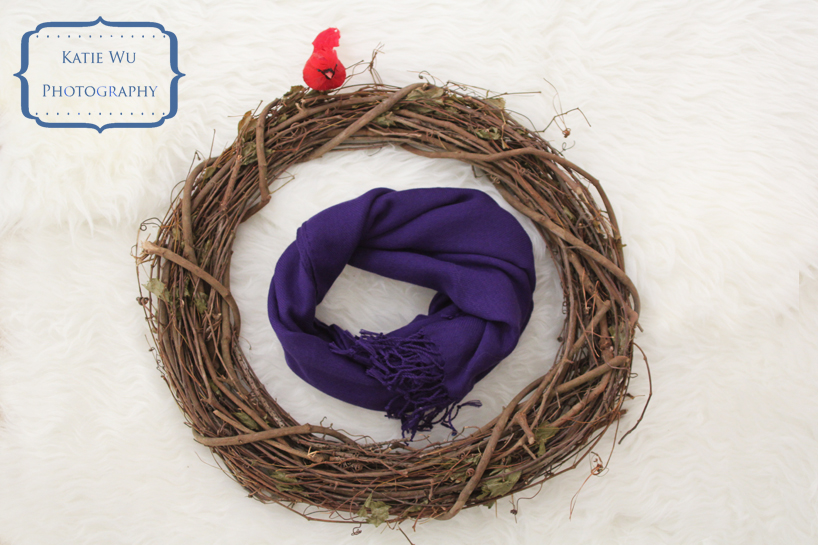
I've been wanting to get a wreath to create a baby bird scene. I even found a cute cardinal to go along with the wreath! A newborn wrapped and then placed in the middle would be to-die-for cute!
Picture
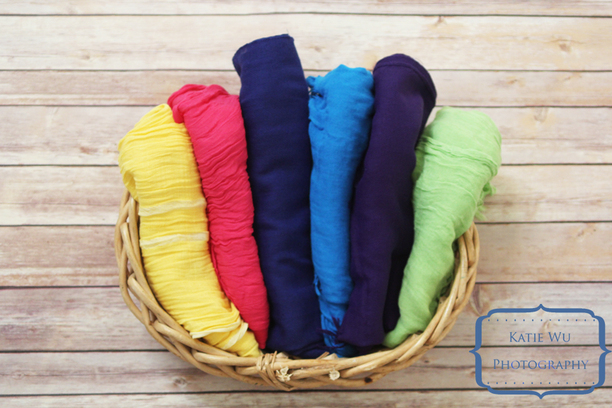
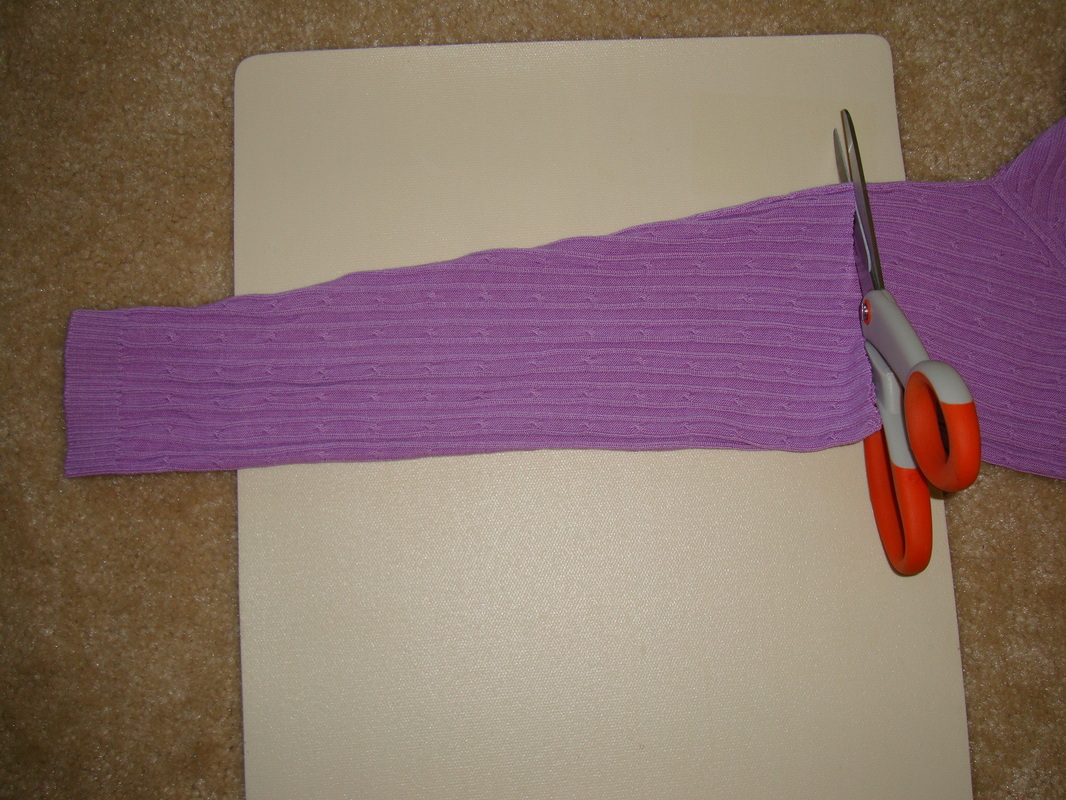
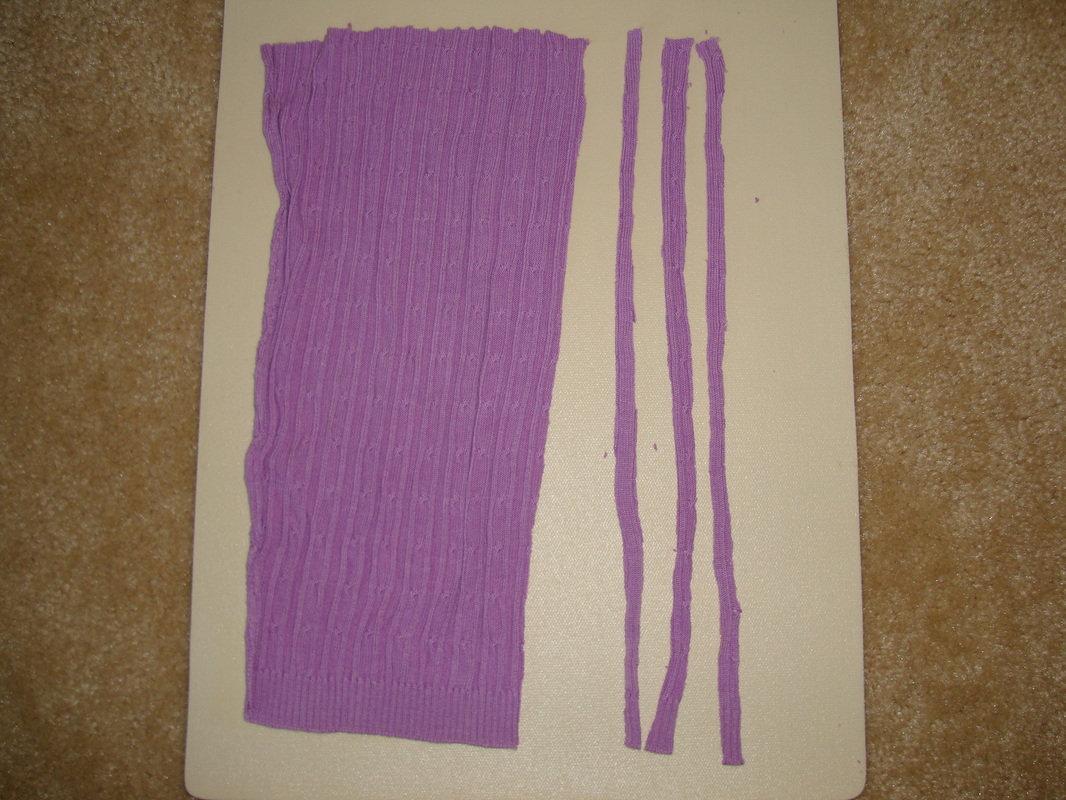
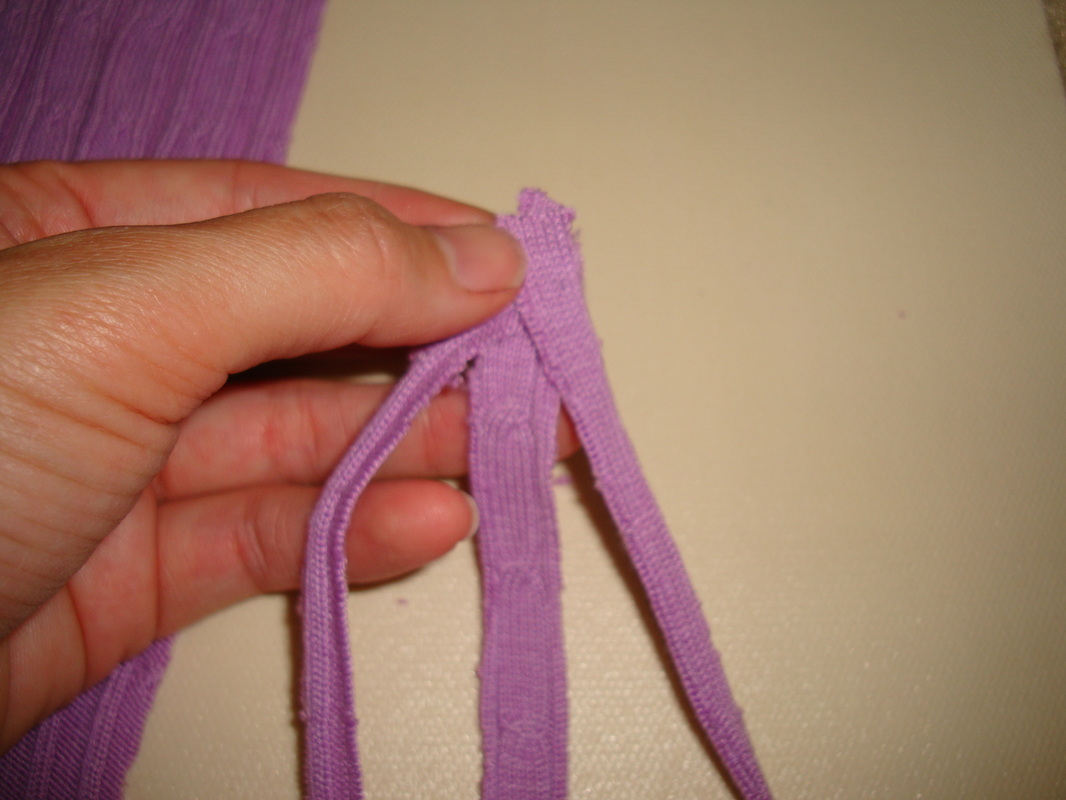
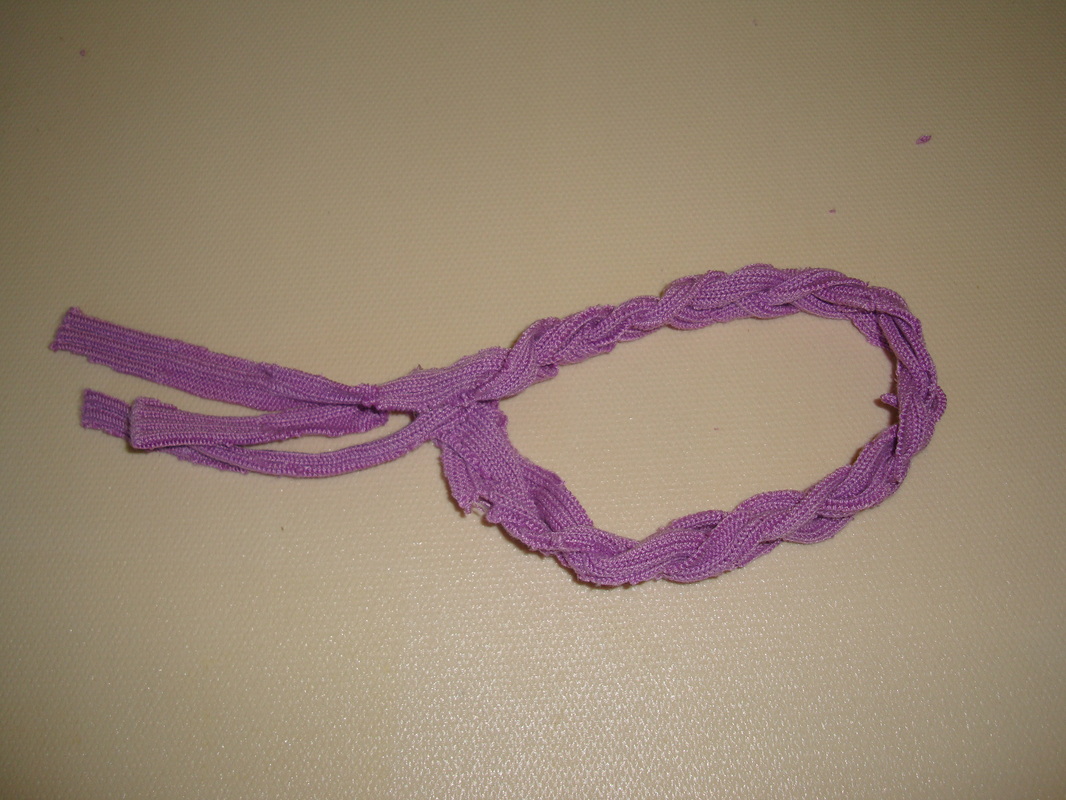
Wraps are a great way to personalize your pictures and keep the lil' one happy
since newborns love to be swaddled!
Picture
0 Comments

DIY Upcycling Newborn Hats & Headbands Part 2

9/8/2013

0 Comments

 
As promised, I will show you how I made an easy headband out of the $3 purple knit sweater. Remember, I've already made two newborn hats out of the same sweater.

The two sleeves of the sweater are the perfect length to make a cute braided headband. Begin by cutting the sleeves into 3 strips for braiding.
Picture
Picture
Now, begin to braid the strips together. Notice how my strips aren't perfect? The beauty of this headband is that it doesn't matter!
Picture
You can either sew the ends together, or since I prefer something easier, I used my crafting BFF: hot glue gun! I left the edges of the strips hanging because I thought it looked boho-chic. You can obviously cut them off if you don't like them.
Picture
To recap, here are the 3 pieces that I was able to make out of a $3 sweater!
Picture
0 Comments

DIY Upcycling Newborn Hats & Headbands Part 1

9/1/2013

1 Comment

 
I love newborn props, especially the ones that make you think hmmm...whose newborn could I borrow right now to try this new prop out? Props can get expensive though, so I decided to do some research to find an inexpensive way to make newborn hats and headbands. Let me say that I do not consider myself to be crafty. However, after reading many tutorials, I found Corina Nielsen's and Pretty Prudent Baby's tutorials on newborn hats to be the clearest. I decided to give it a try, and I came to two conclusions in my research:  
1) I love the Internet
2) Upcycling is cool now
What is this "upcycling" you ask? It's essentially recycling, but you're (hopefully) making something better than the original product. So, I decided to try upcycling some old sweaters. What if you would actually like to keep your sweaters intact? This is where the thrift store comes in handy. Just don't ask a friend "hey, I need some ugly sweaters to make newborn hats. Can I look through your closet?"
 
I found knit sweaters with some stretch to be the best for this project. I got the newborn top knot hat pattern from Pretty Prudent Baby . I bought this purple sweater for a whopping $3 at the local thrift store! Since I can sew probably as well as a monkey can, I traced the pattern with a Sharpie before cutting it out. You'll notice that I also extended the top knot because I wanted a longer knot. Also, I turned the sweater inside out so that I didn't draw on the outside.
Picture
If you're not crafty like me, you might be tempted to use your all-purpose scissors. You should use fabric scissors to cut out the hat and then make sure not to use your fabric scissors as your all-purpose scissors. You wouldn't wear your high heels to the gym, right? Same concept.
Picture
Next, sew the hat together. Don't worry, you'll turn the hat right side out so that the Sharpie marks won't show.
Picture
Turn the hat right side out, tie a top knot, and you have your newborn hat!
Picture
There's still the rest of the sweater though, so I made another hat out of it! I traced another hat that I previously made from another sweater as my pattern. You could also just eyeball it. The hat I used is about 6" across and 4" high, but the dimensions can vary a bit depending on your sweater material.
Picture
Cut the hat out, sew it together, turn it right side out, and you have hat #2! You could easily sew or hot glue gun some flowers, ribbon, etc. onto the hat to jazz it up a bit.
Picture
So, I made 2 hats out of a $3 sweater and kept it out of our landfills, which makes me a fan of upcycling. I am not done with the sweater though. Stay tuned for part 2 next week where I will make an easy no-sew headband!
1 Comment

    Archives

    August 2017
    July 2017
    May 2017
    April 2017
    March 2017
    January 2017
    July 2016
    June 2016
    February 2016
    January 2016
    September 2015
    August 2015
    May 2015
    December 2014
    September 2014
    April 2014
    March 2014
    January 2014
    December 2013
    November 2013
    October 2013
    September 2013
    August 2013
    July 2013

    RSS Feed

Powered by Create your own unique website with customizable templates.