I love newborn props, especially the ones that make you think hmmm...whose newborn could I borrow right now to try this new prop out? Props can get expensive though, so I decided to do some research to find an inexpensive way to make newborn hats and headbands. Let me say that I do not consider myself to be crafty. However, after reading many tutorials, I found Corina Nielsen's and Pretty Prudent Baby's tutorials on newborn hats to be the clearest. I decided to give it a try, and I came to two conclusions in my research:
1) I love the Internet
2) Upcycling is cool now
What is this "upcycling" you ask? It's essentially recycling, but you're (hopefully) making something better than the original product. So, I decided to try upcycling some old sweaters. What if you would actually like to keep your sweaters intact? This is where the thrift store comes in handy. Just don't ask a friend "hey, I need some ugly sweaters to make newborn hats. Can I look through your closet?"
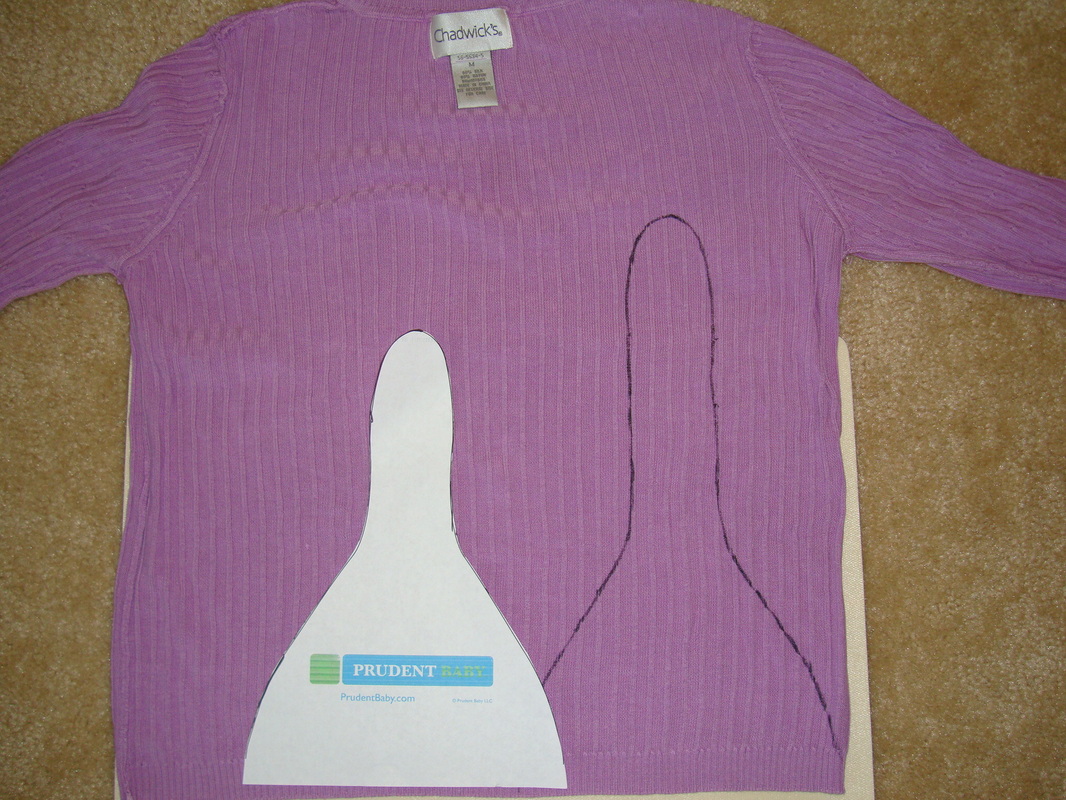
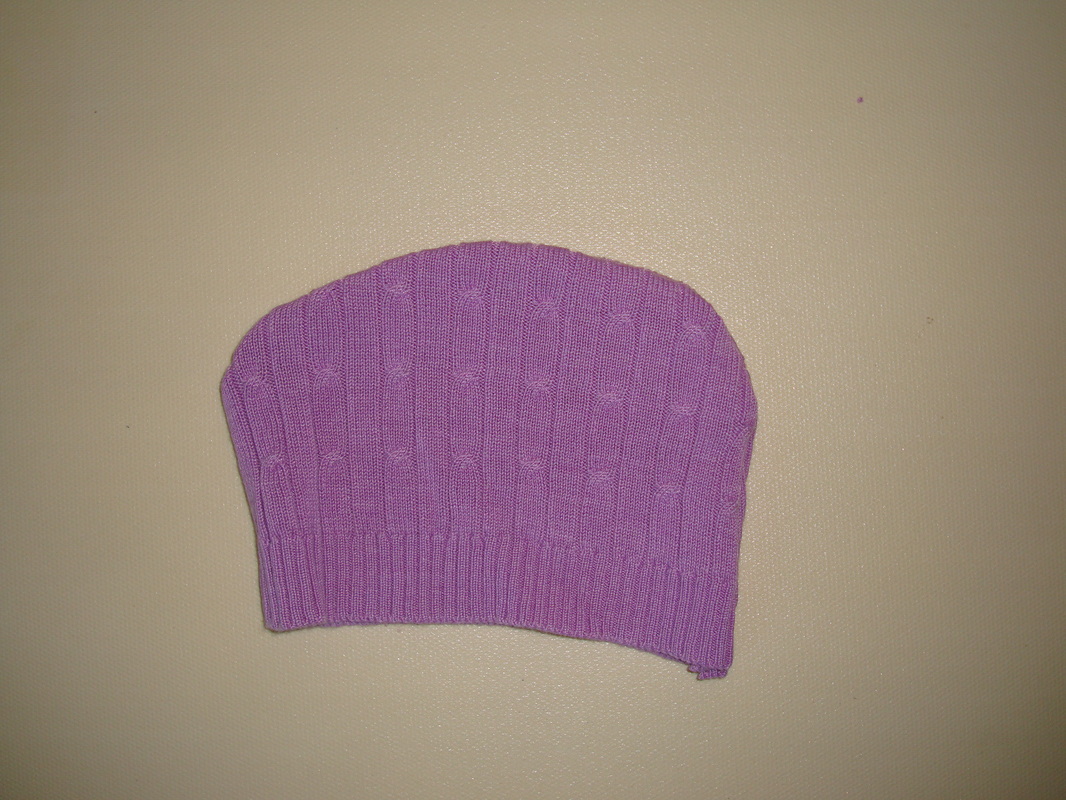
I found knit sweaters with some stretch to be the best for this project. I got the newborn top knot hat pattern from Pretty Prudent Baby . I bought this purple sweater for a whopping $3 at the local thrift store! Since I can sew probably as well as a monkey can, I traced the pattern with a Sharpie before cutting it out. You'll notice that I also extended the top knot because I wanted a longer knot. Also, I turned the sweater inside out so that I didn't draw on the outside.
1) I love the Internet
2) Upcycling is cool now
What is this "upcycling" you ask? It's essentially recycling, but you're (hopefully) making something better than the original product. So, I decided to try upcycling some old sweaters. What if you would actually like to keep your sweaters intact? This is where the thrift store comes in handy. Just don't ask a friend "hey, I need some ugly sweaters to make newborn hats. Can I look through your closet?"
I found knit sweaters with some stretch to be the best for this project. I got the newborn top knot hat pattern from Pretty Prudent Baby . I bought this purple sweater for a whopping $3 at the local thrift store! Since I can sew probably as well as a monkey can, I traced the pattern with a Sharpie before cutting it out. You'll notice that I also extended the top knot because I wanted a longer knot. Also, I turned the sweater inside out so that I didn't draw on the outside.
If you're not crafty like me, you might be tempted to use your all-purpose scissors. You should use fabric scissors to cut out the hat and then make sure not to use your fabric scissors as your all-purpose scissors. You wouldn't wear your high heels to the gym, right? Same concept.
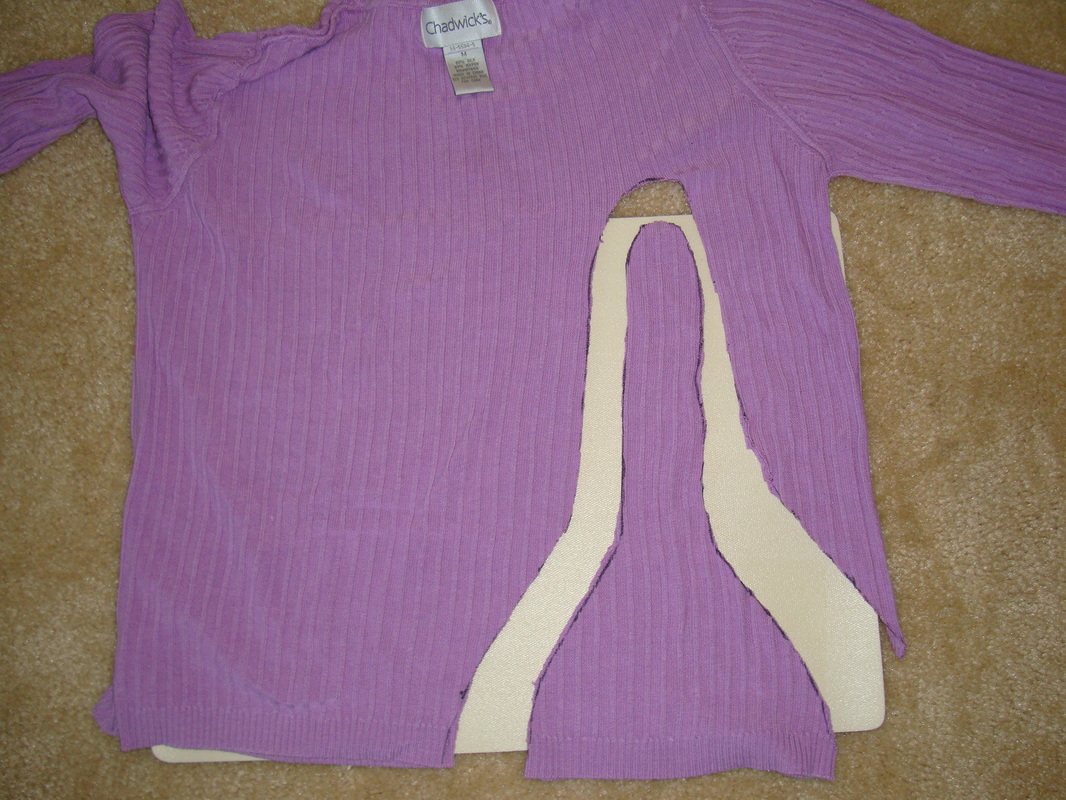
Next, sew the hat together. Don't worry, you'll turn the hat right side out so that the Sharpie marks won't show.

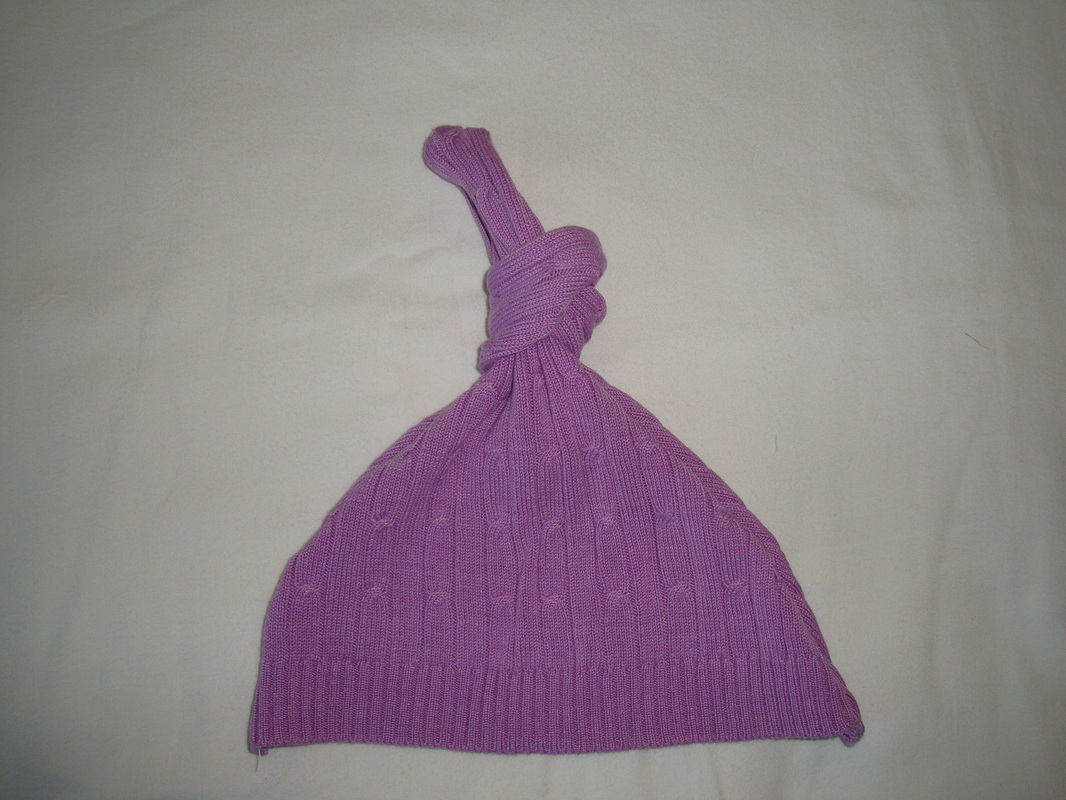
Turn the hat right side out, tie a top knot, and you have your newborn hat!
There's still the rest of the sweater though, so I made another hat out of it! I traced another hat that I previously made from another sweater as my pattern. You could also just eyeball it. The hat I used is about 6" across and 4" high, but the dimensions can vary a bit depending on your sweater material.
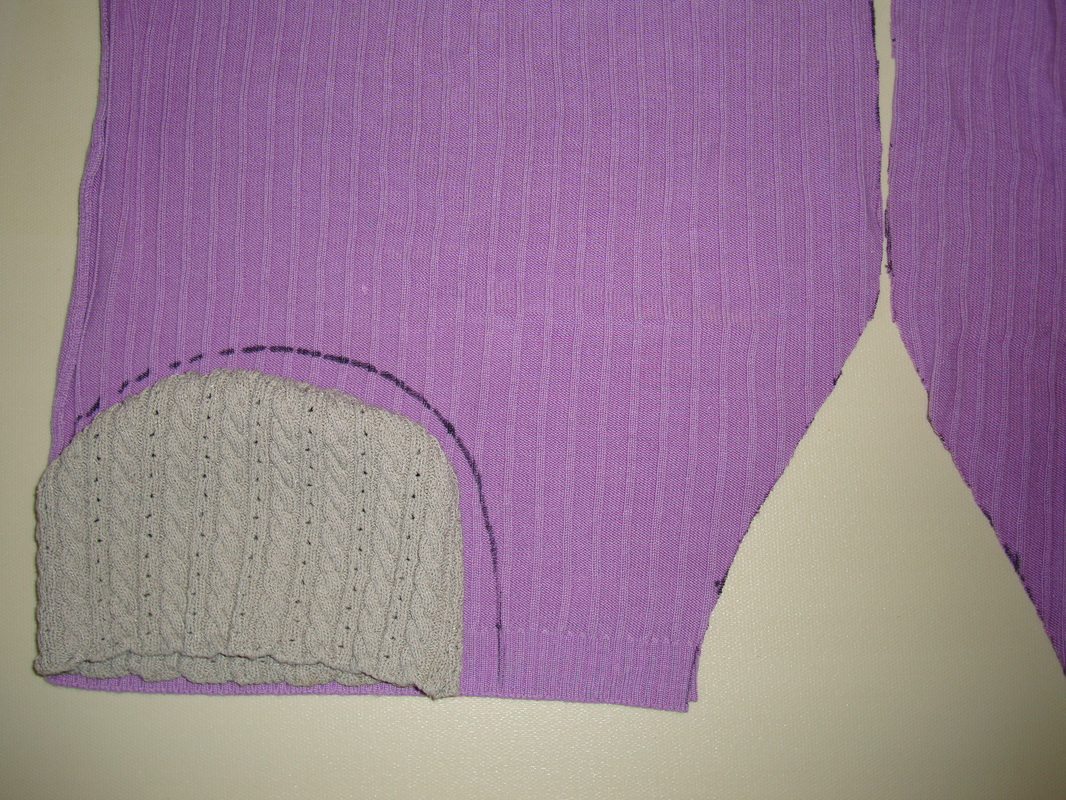
Cut the hat out, sew it together, turn it right side out, and you have hat #2! You could easily sew or hot glue gun some flowers, ribbon, etc. onto the hat to jazz it up a bit.
So, I made 2 hats out of a $3 sweater and kept it out of our landfills, which makes me a fan of upcycling. I am not done with the sweater though. Stay tuned for part 2 next week where I will make an easy no-sew headband!
 RSS Feed
